Menu-Structure
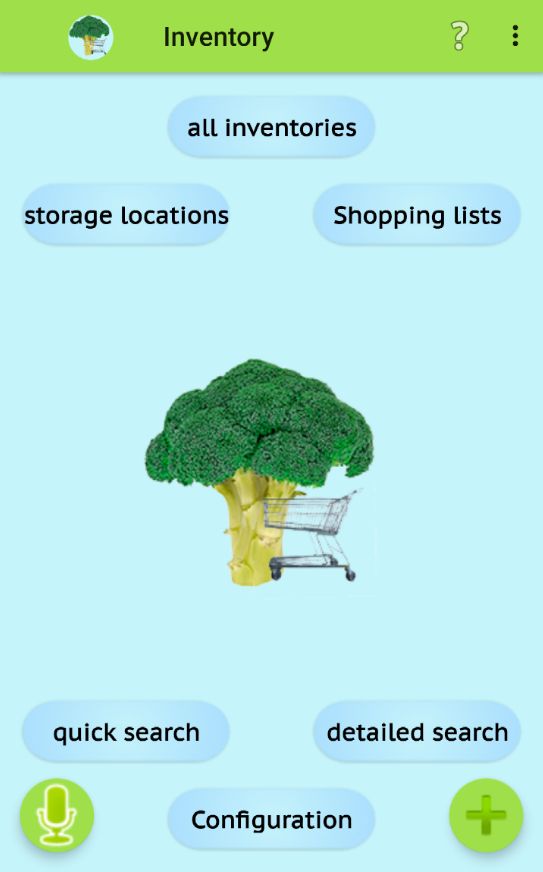
The start screen of the app is the central pivot, to which all other submenus and program parts return again and again after their end. Therefore, it has the additional task of always performing the synchronization process first when Auto-Sync is switched on - both when starting the app and when returning by exiting another program part (when editing shared data in a group):
The button ![]() creates a new product, which can be used later e.g. for shopping lists. This selection point provides quick access to additional products.
creates a new product, which can be used later e.g. for shopping lists. This selection point provides quick access to additional products.
The button ![]() starts the voice input for entering a new product. This is the fastest way to enter several products one after the other.
starts the voice input for entering a new product. This is the fastest way to enter several products one after the other.
The 'all inventories' button provides a sorted list of all stocks that are stored. You can then select one of these, enter a restrictive search string, or add a new stock.
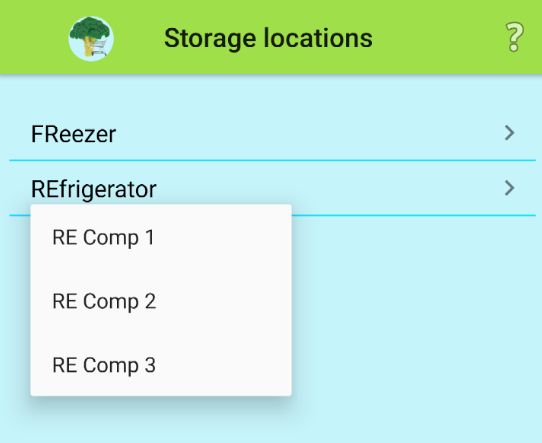
The 'Storage locations' button displays a sorted list of all storage locations that are defined. A storage location can then be selected from this list, the contents of which are to be displayed. If the storage location has a small arrow on the right side, it contains sub-storage locations that are offered for selection by clicking on the storage location in a menu:
The 'REfrigerator' in this configuration therefore consists of the 3 compartments 'RE Comp 1' ... RE Comp 3'. If the space in the menu is not sufficient for all elements, it can be scrolled.
The button 'Shopping Lists' provides a sorted list of all existing shopping lists. If one of them is selected (like the storage location also possibly 2-stage), the content of the respective shopping list is displayed.
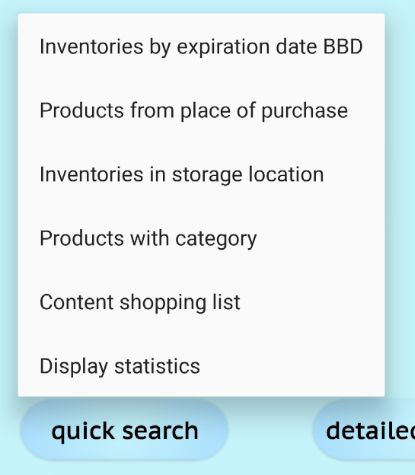
The 'Quick search' button displays a menu from which the respective search action can be selected:
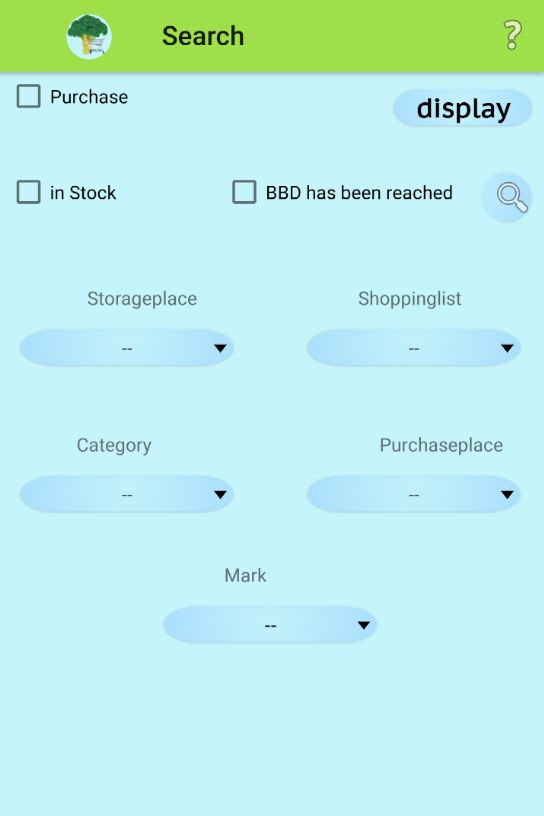
The 'Detailed search' button is used for a detailed search according to several combined criteria:
After clicking on display, the matching elements will be displayed here that meet all the search criteria specified. If 'in Stock' was checked, the matching stocks, otherwise the matching products.
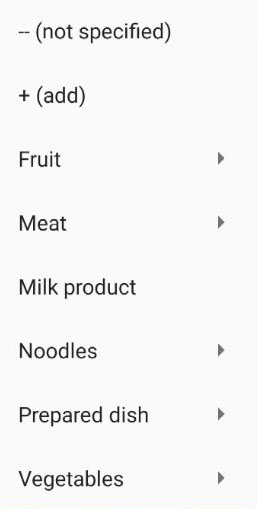
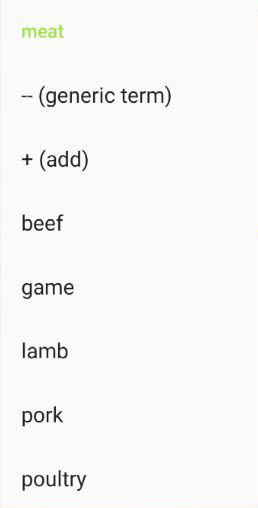
For example, if the 'Category' button is used to search for a specific category that contains subcategories, the submenu belonging to that category will appear (here as an example category meat):
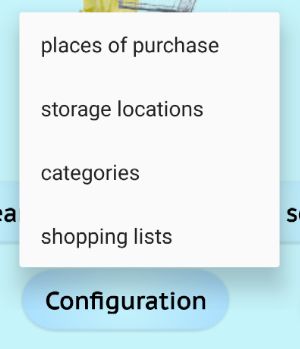
In the configuration itself, individual elements can then be added, renamed or deleted.
The menu item ![]() shows the scarce offline help everywhere - on all pages. It again contains a button
shows the scarce offline help everywhere - on all pages. It again contains a button ![]() that leads to the detailed online help if required.
that leads to the detailed online help if required.
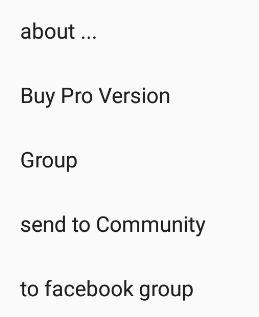
The menu item ![]() displays additional menu options:
displays additional menu options:
The selection point 'about' shows a short description of the current app version.
With the help of the item 'Buy Pro Version' the inApp purchase process can be initiated, which removes the advertisement from the app and removes the restriction to 1 group. After the purchase you should restart the app once, so that the display area reserved for the advertisement can be used completely by the app.
The 'Group' selection branches to the program section that contains the management of one or more groups, which is also used to define synchronization.
The option 'send to community' causes the sending of all own known products (not stocks !) in order to make their data available to the community. This happens like everything in this app completely anonymous, so that no personal information is sent along.
The sent data are inserted after visual control by an Admin into the pool of the known products and are then available to all members.
The 'go to Facebook group' option calls up Facebook with the support group set up there specifically for the app - for questions or requests.

