
own product photos
If the option 'no photos' is selected in the settings for 'own product photos', no photos are displayed in the lists (and there is therefore more space available for text).
Otherwise, a self-photographed product photo is displayed with the individual products / supplies in the lists. You can choose in the settings whether a small, a medium or a large photo should be displayed. The taken photos have internally always the same size (this is to be seen also in each case with the processing data of the products / supplies), only the display size varies by the settings.
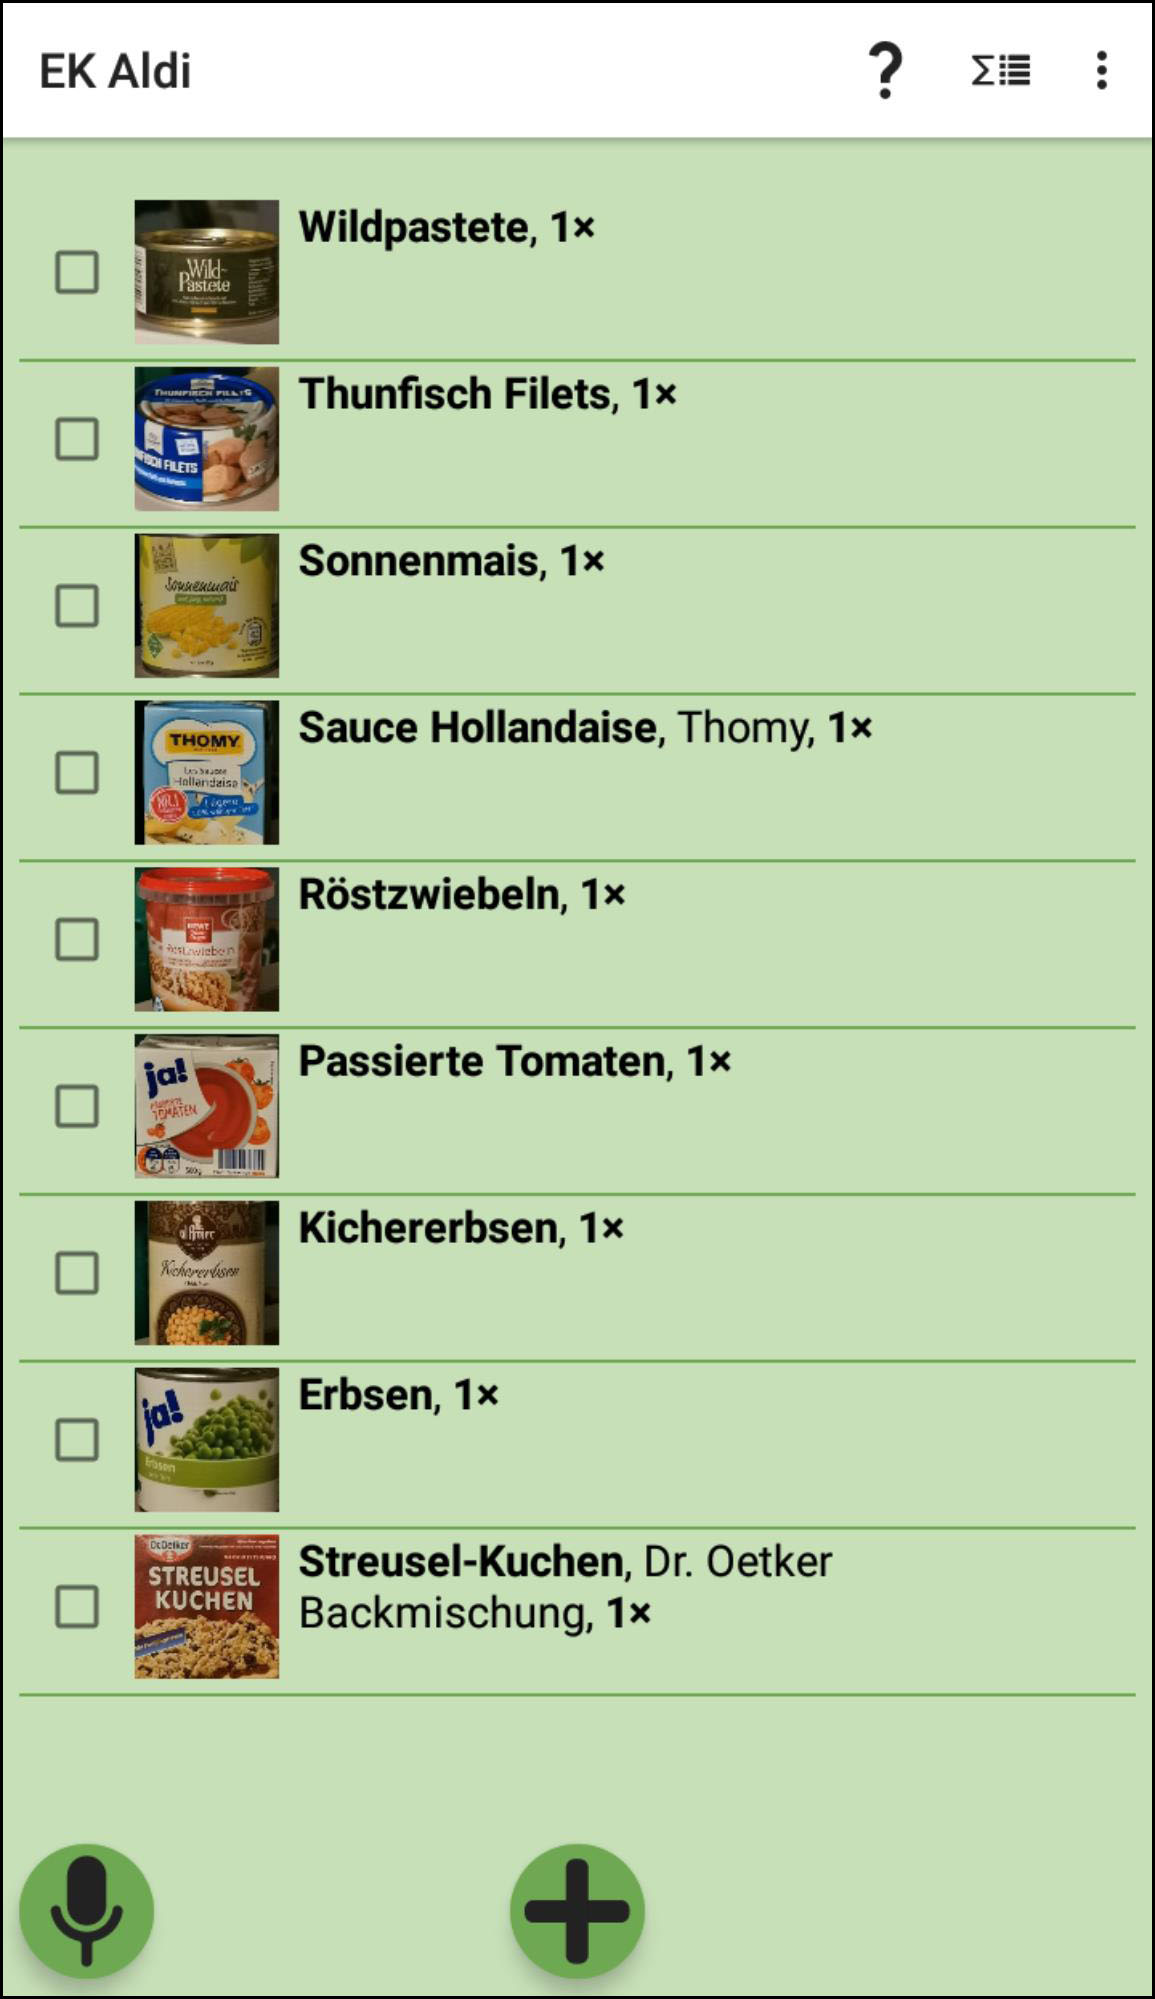
Example of a shopping list (medium photo size):
The photos are also synchronized with the shared data. The use of the photos is bound to the Pro version. To test the function free of charge before purchase, up to 10 product photos can be used without the Pro version (incl. synchronization).
The photos can be taken in 2 different places :
- in the shopping lists for the products that can already be seen in the shopping list
- everywhere where a product / stock is displayed for processing
The recording is started there by clicking on the camera icon (or on an already displayed photo - to replace the photo).
With the help of the standard photo app of the cell phone, which is then automatically started, a thumbnail photo can be taken using the means offered in the standard app. When the photo is confirmed with OK, it is automatically squared by cutting off the center of the longer side and saved with the product / stock.
Alternatively, when editing a product / stock, an existing photo can also be taken from the gallery by clicking on the gallery icon or via the menu item 'Get photo from gallery'. Then an existing photo can be selected with the help of the started gallery app (a copy of it is cropped, scaled to thumbnail size and saved as it was taken).
The photos are subsequently displayed everywhere a product / stock is displayed - even in the shopping lists sent as HTML files.
Example of product data with photo :

By clicking on a photo in the product data, a menu is displayed :

Show photo enlarged
The photo is temporarily displayed large for better visibility.
take new photo
A new photo is taken with the Photos app and replaces the previous one.
new photo from gallery
The Gallery app is launched to select a new photo to replace the previous one.
Rotate photo clockwise
The photo is saved rotated 90° clockwise.
Rotate photo counterclockwise
The photo is saved rotated 90° counterclockwise.
Delete photo
The previous photo will be deleted.
You can also turn off the display of photos in between times when needed, without deleting existing photos.
If a lot of new photos have to be synchronized in one go (e.g. when joining a group with a lot of photos), the transfer may take a while - it may be advisable to perform such an operation in the WLAN.